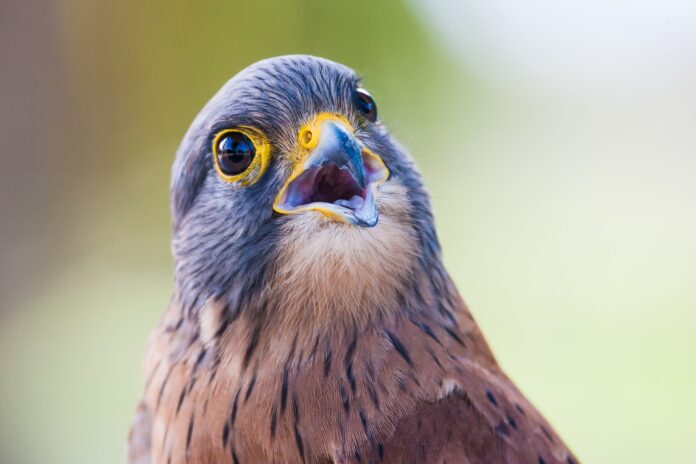
Depending on who you speak with, there are various definitions of wildlife photography. According to many seasoned photographers, a photograph must have been taken in the animal’s natural environment in order to be categorised as a wildlife photograph.
The hardest genre of professional photography to master is probably wildlife. There are almost as many different genres of wildlife photography as there are animal species, but generally speaking, wildlife photography separates them into Mammal photography, Bird photography, Aquatic photography and Macro photography of wildlife (insects).
The camera is obviously necessary, as it is the necessary time and disposition. Because the animal won’t get close to you, the majority of wildlife photographs are taken with telephoto lenses. The elk, fox, bear, or another animal will occasionally cross your path as it moves through the woods, but more often than not, it will be several yards distant and elusive. Animals are always moving.
By utilising a quick shutter speed, you should stop this motion. Even when an animal is stationary, a head turn or wing flap may generate blur in a photograph. Wildlife photography necessitates a passion for the great outdoors and a lot of patience, but is a high-end camera necessary?
Whether you’re photographing animals in the wild or in captivity, photographing wildlife can be difficult. Since the introduction of digital cameras, the popularity of wildlife photography has increased.
Whether you are a seasoned pro or a novice at taking pictures of animals, capturing wildlife can be difficult. Here are some pointers to get you started if you’re new to the field and want to learn how to take pictures of animals:
1. Use a telephoto lens.
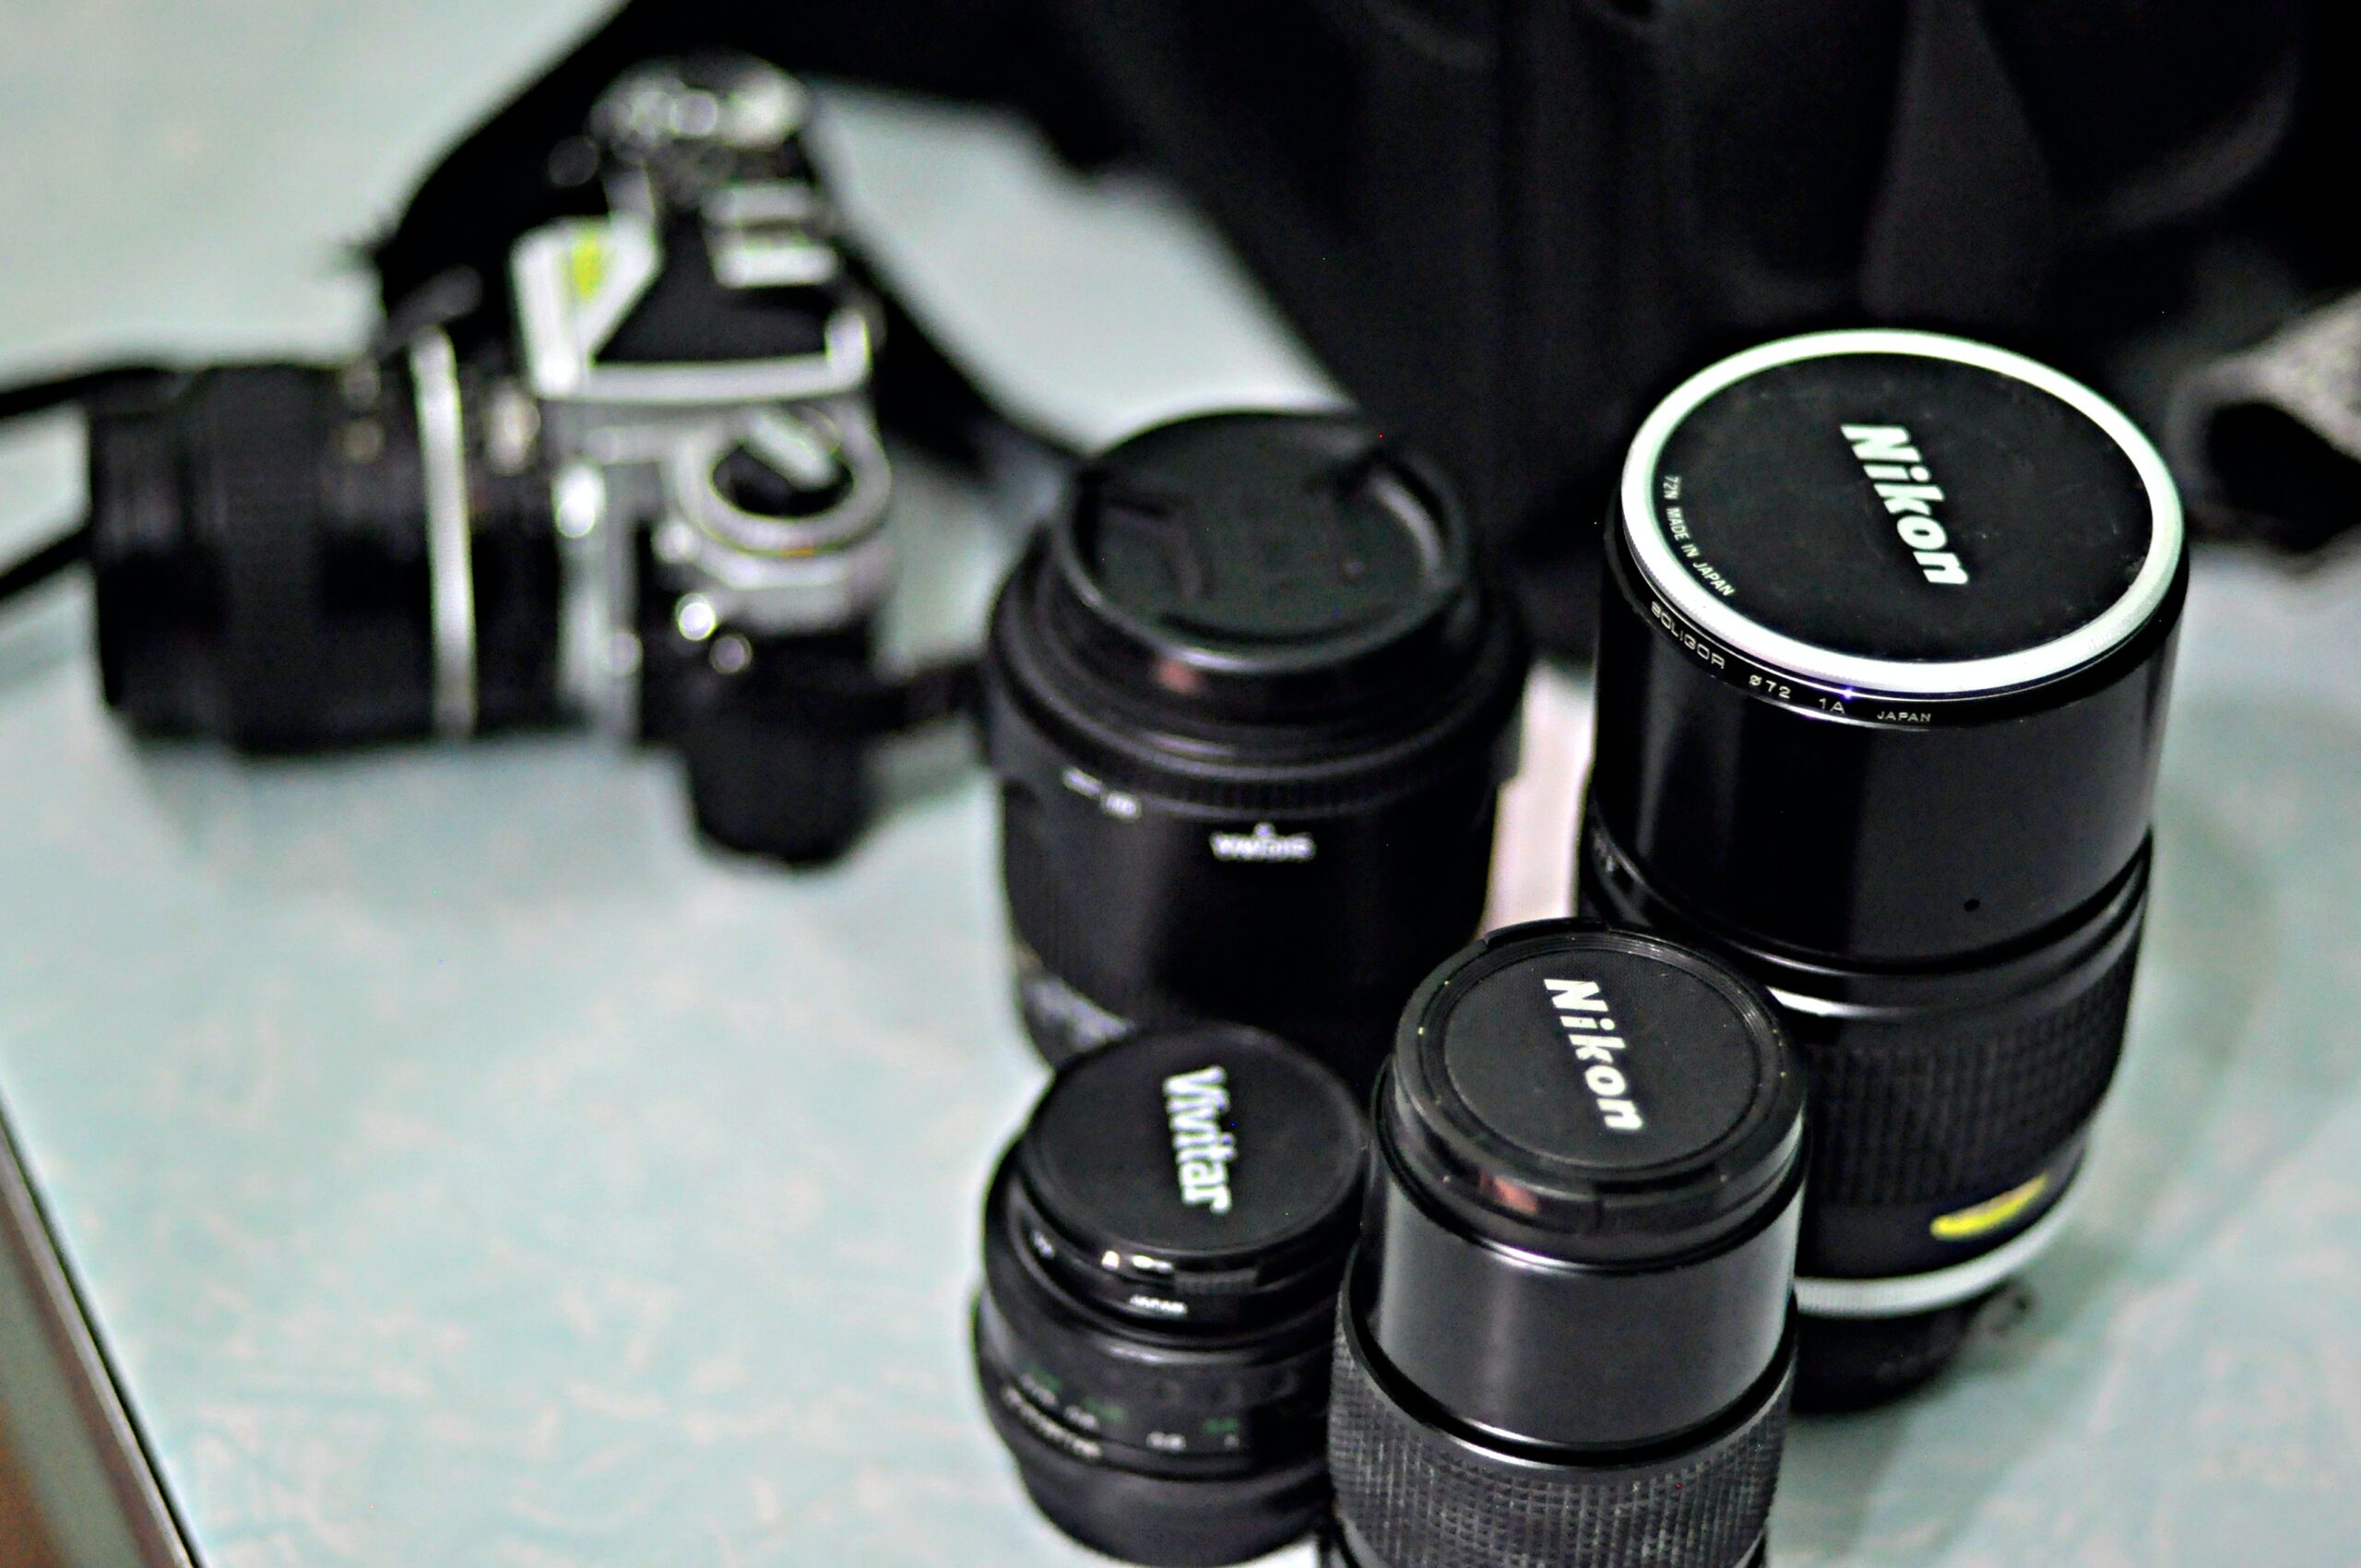
A telephoto lens is the best option if you want to get close to the action and be able to zoom in to take pictures of wildlife. Anything between 70 and 400 mm will work.
As getting too close to the subject could frighten it away, especially for wild creatures that are timid like foxes, you will discover that taking pictures from a distance is advantageous.
You might be able to take pictures of animals from a closer vantage point because they are more likely to be accustomed to people if they live in urban areas.
2. To capture the action, use a quick shutter speed.
Due to the size and weight of a telephoto lens, it will be easier to see camera shake than a regular lens.
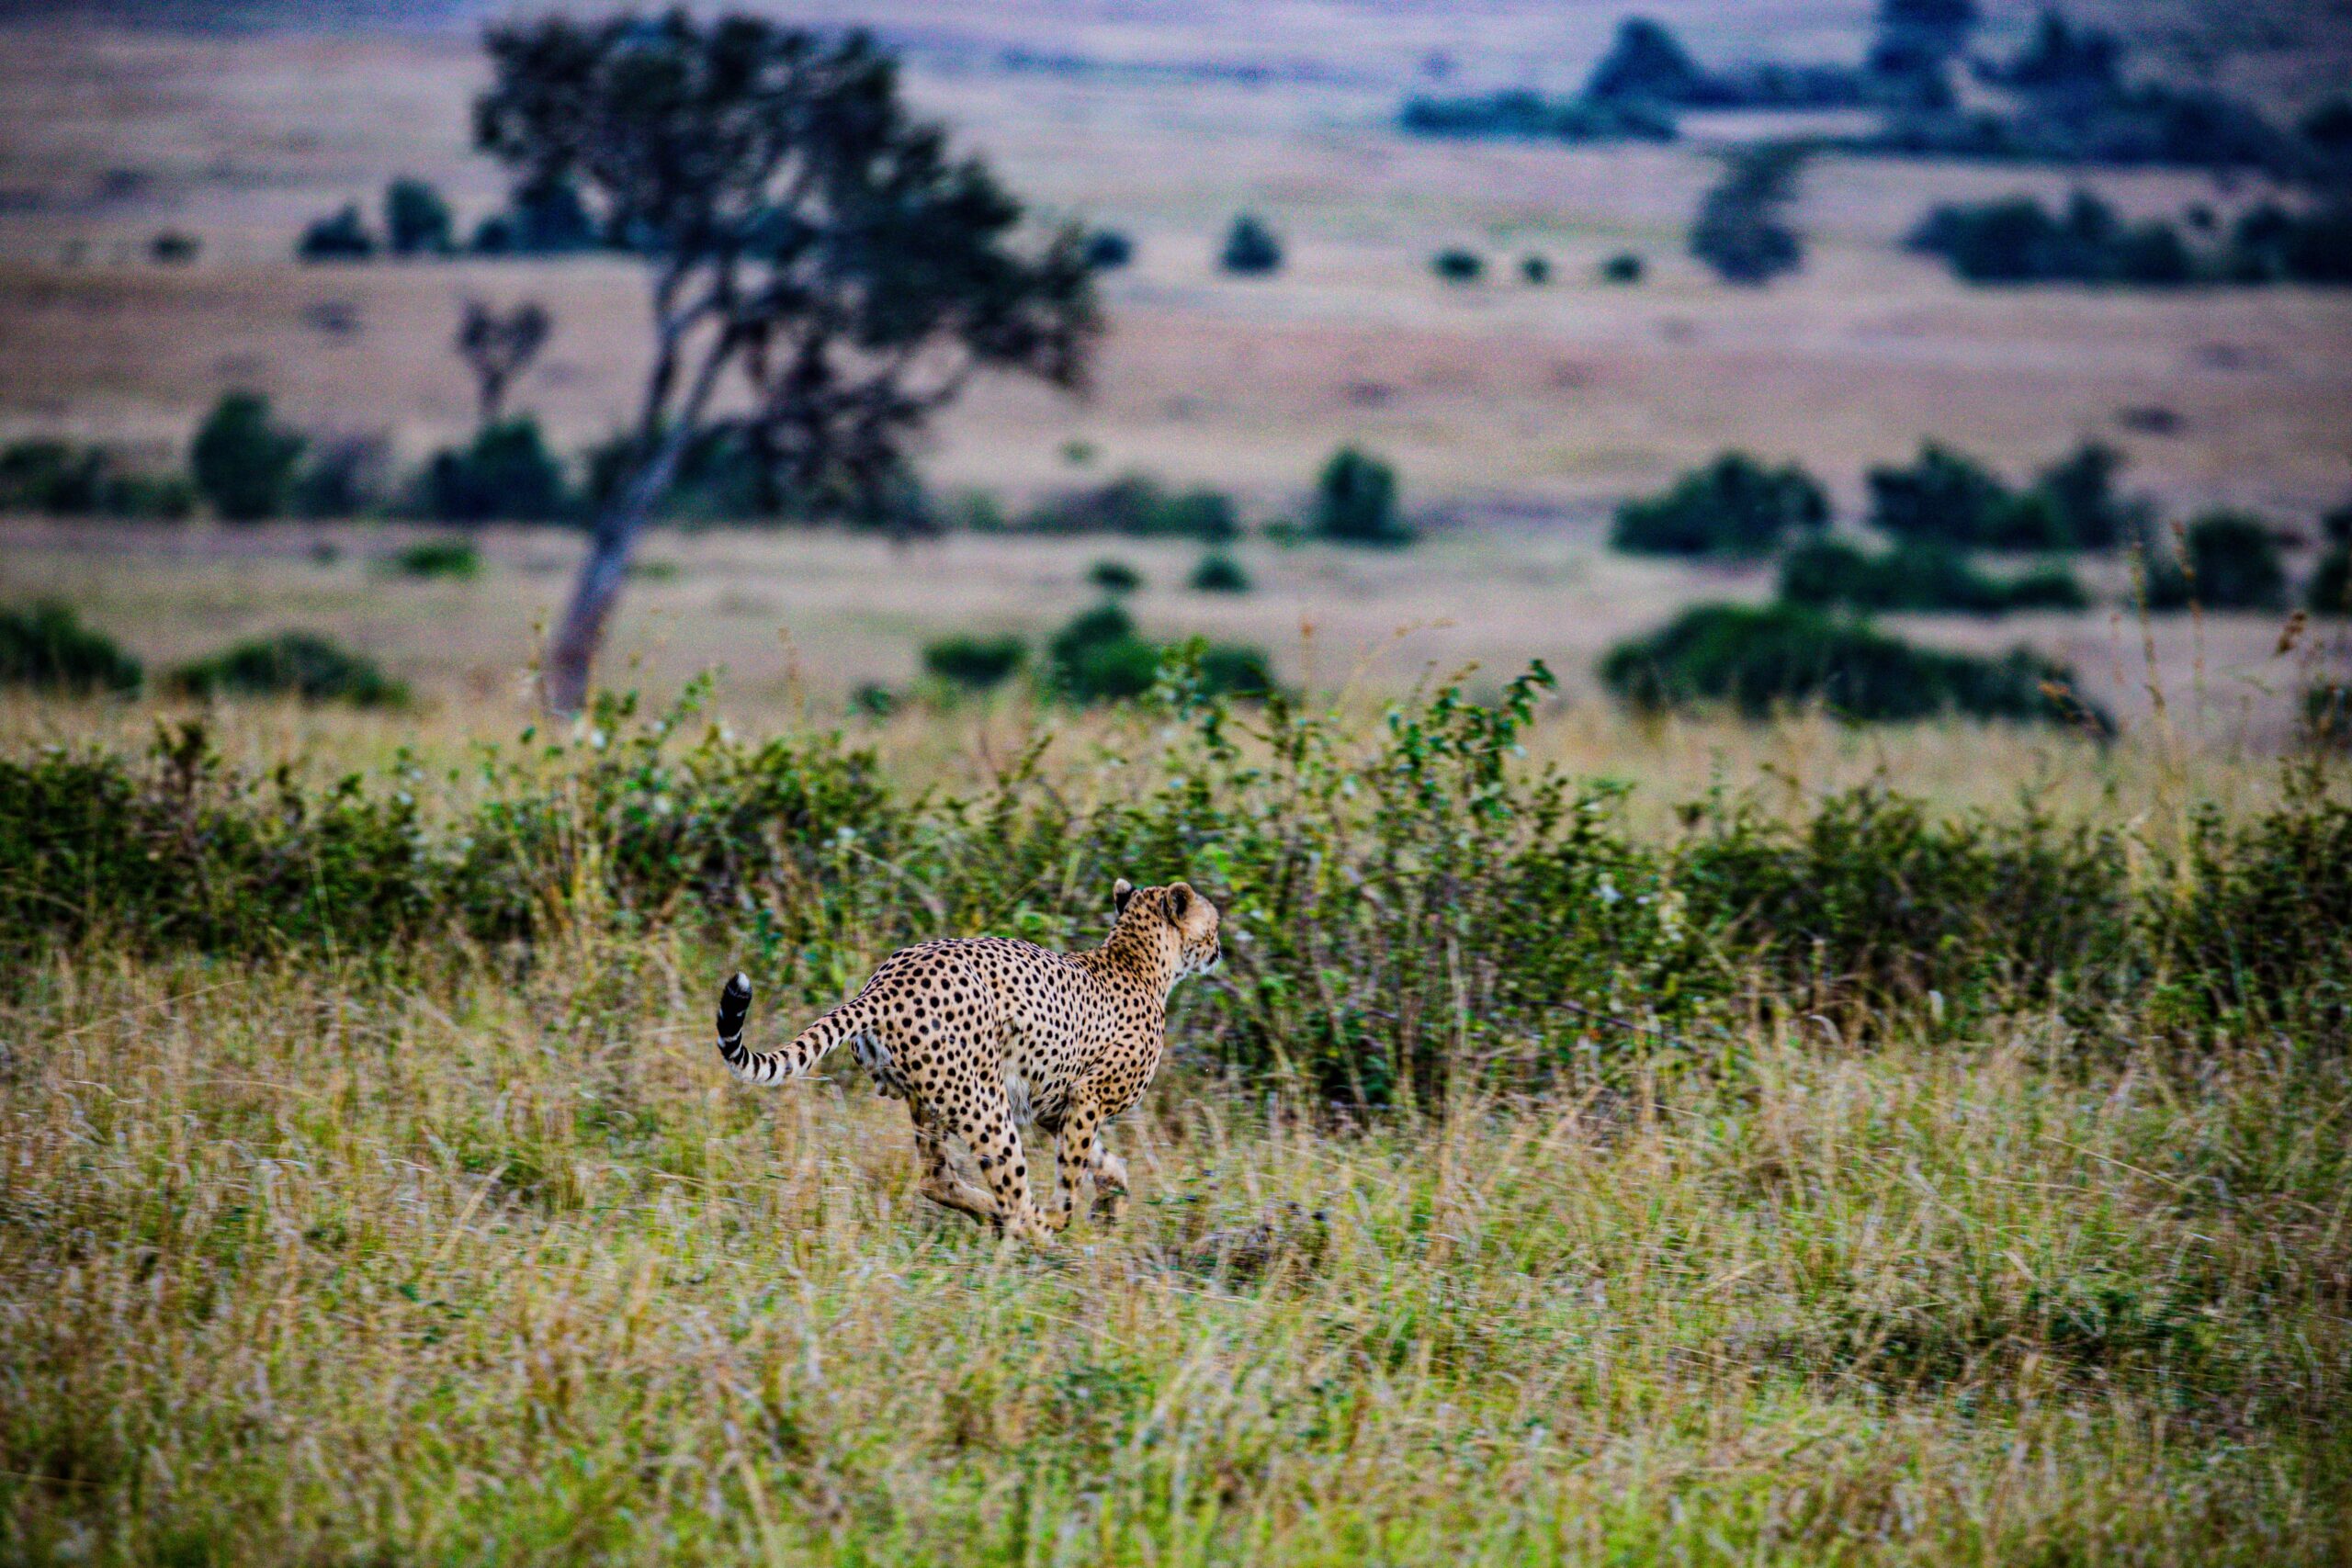
You are increasingly prone to camera shake as the lens length increases. When photographing moving animals, a shutter speed of at least 1/100th of a second will help to reduce movement.
When you press the shutter at a quicker rate, you may freeze motion whether your subject is moving or still, and get crisper pictures. A lot of contemporary lenses also come with the option of image stabilization, which can be utilized to lessen shaking.
3. The fine print deserves your attention
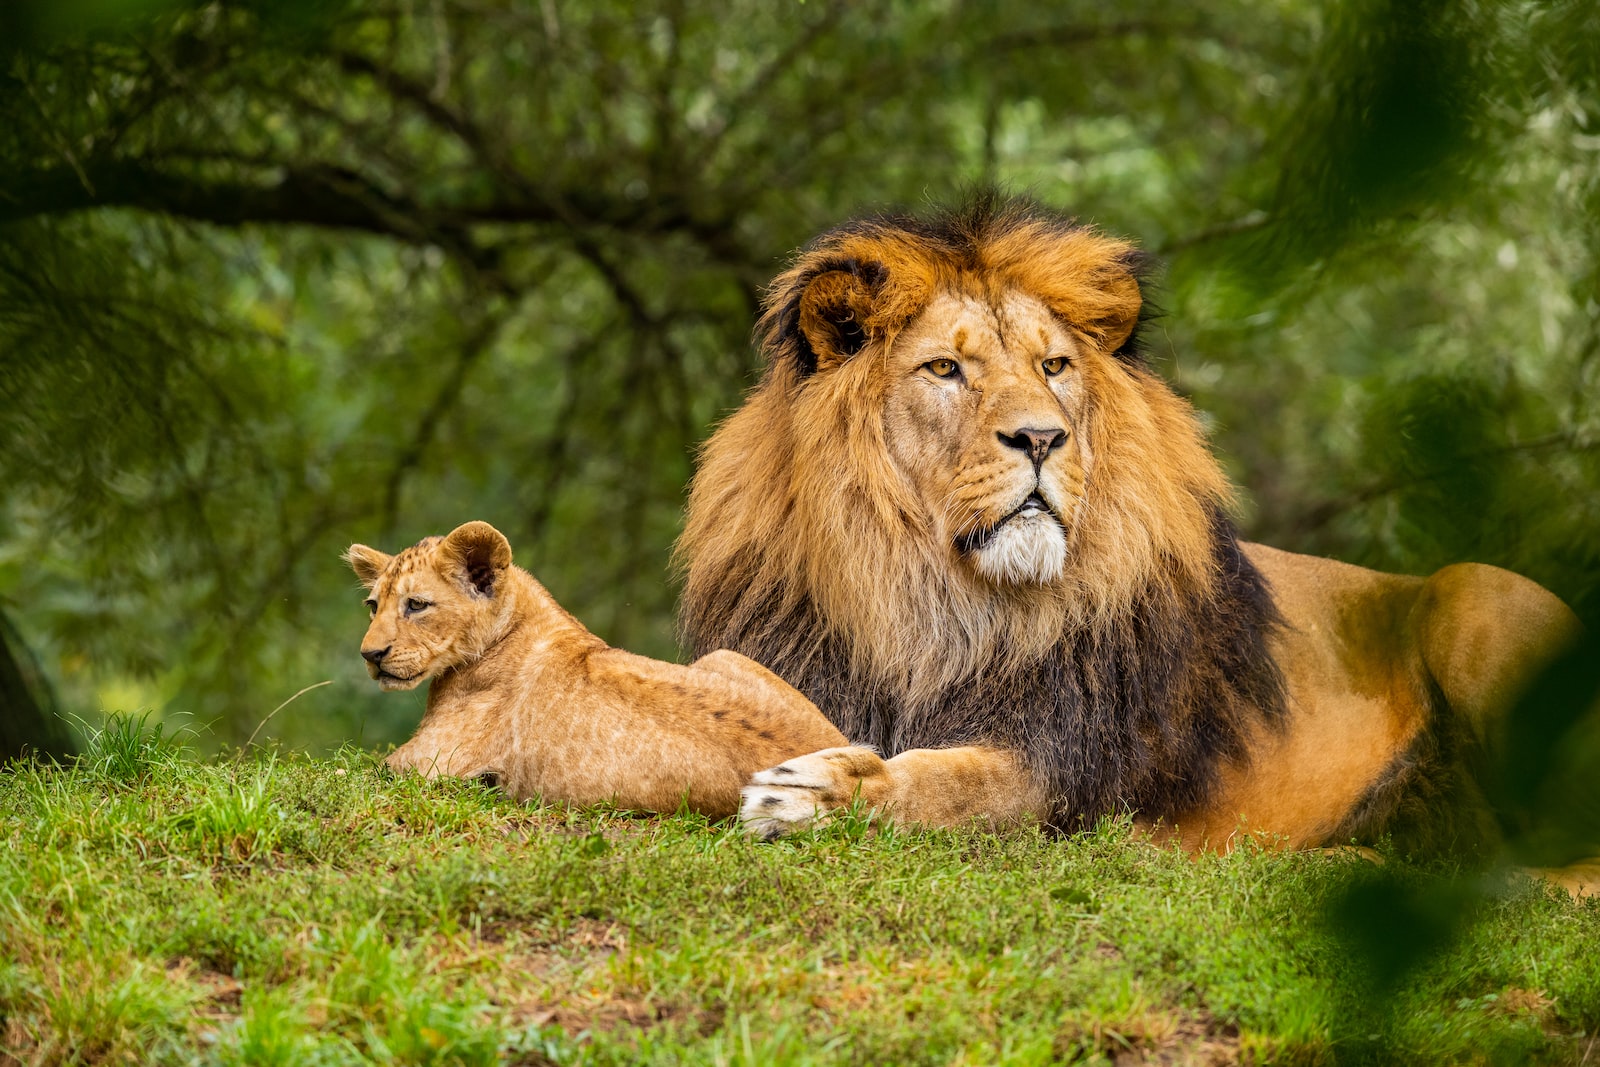
A wildlife shot may occasionally look better if the animal’s features occupied the entire frame. For example, a lion’s concentrated gaze or a monkey’s face might provide an interesting subject that is even more interesting than the animal itself.
More wildlife photography will help you pick up on the little elements that could result in a captivating image. Make sure to capture the various elements you find interesting on camera.
4. Keep your attention on the animal’s eyes.
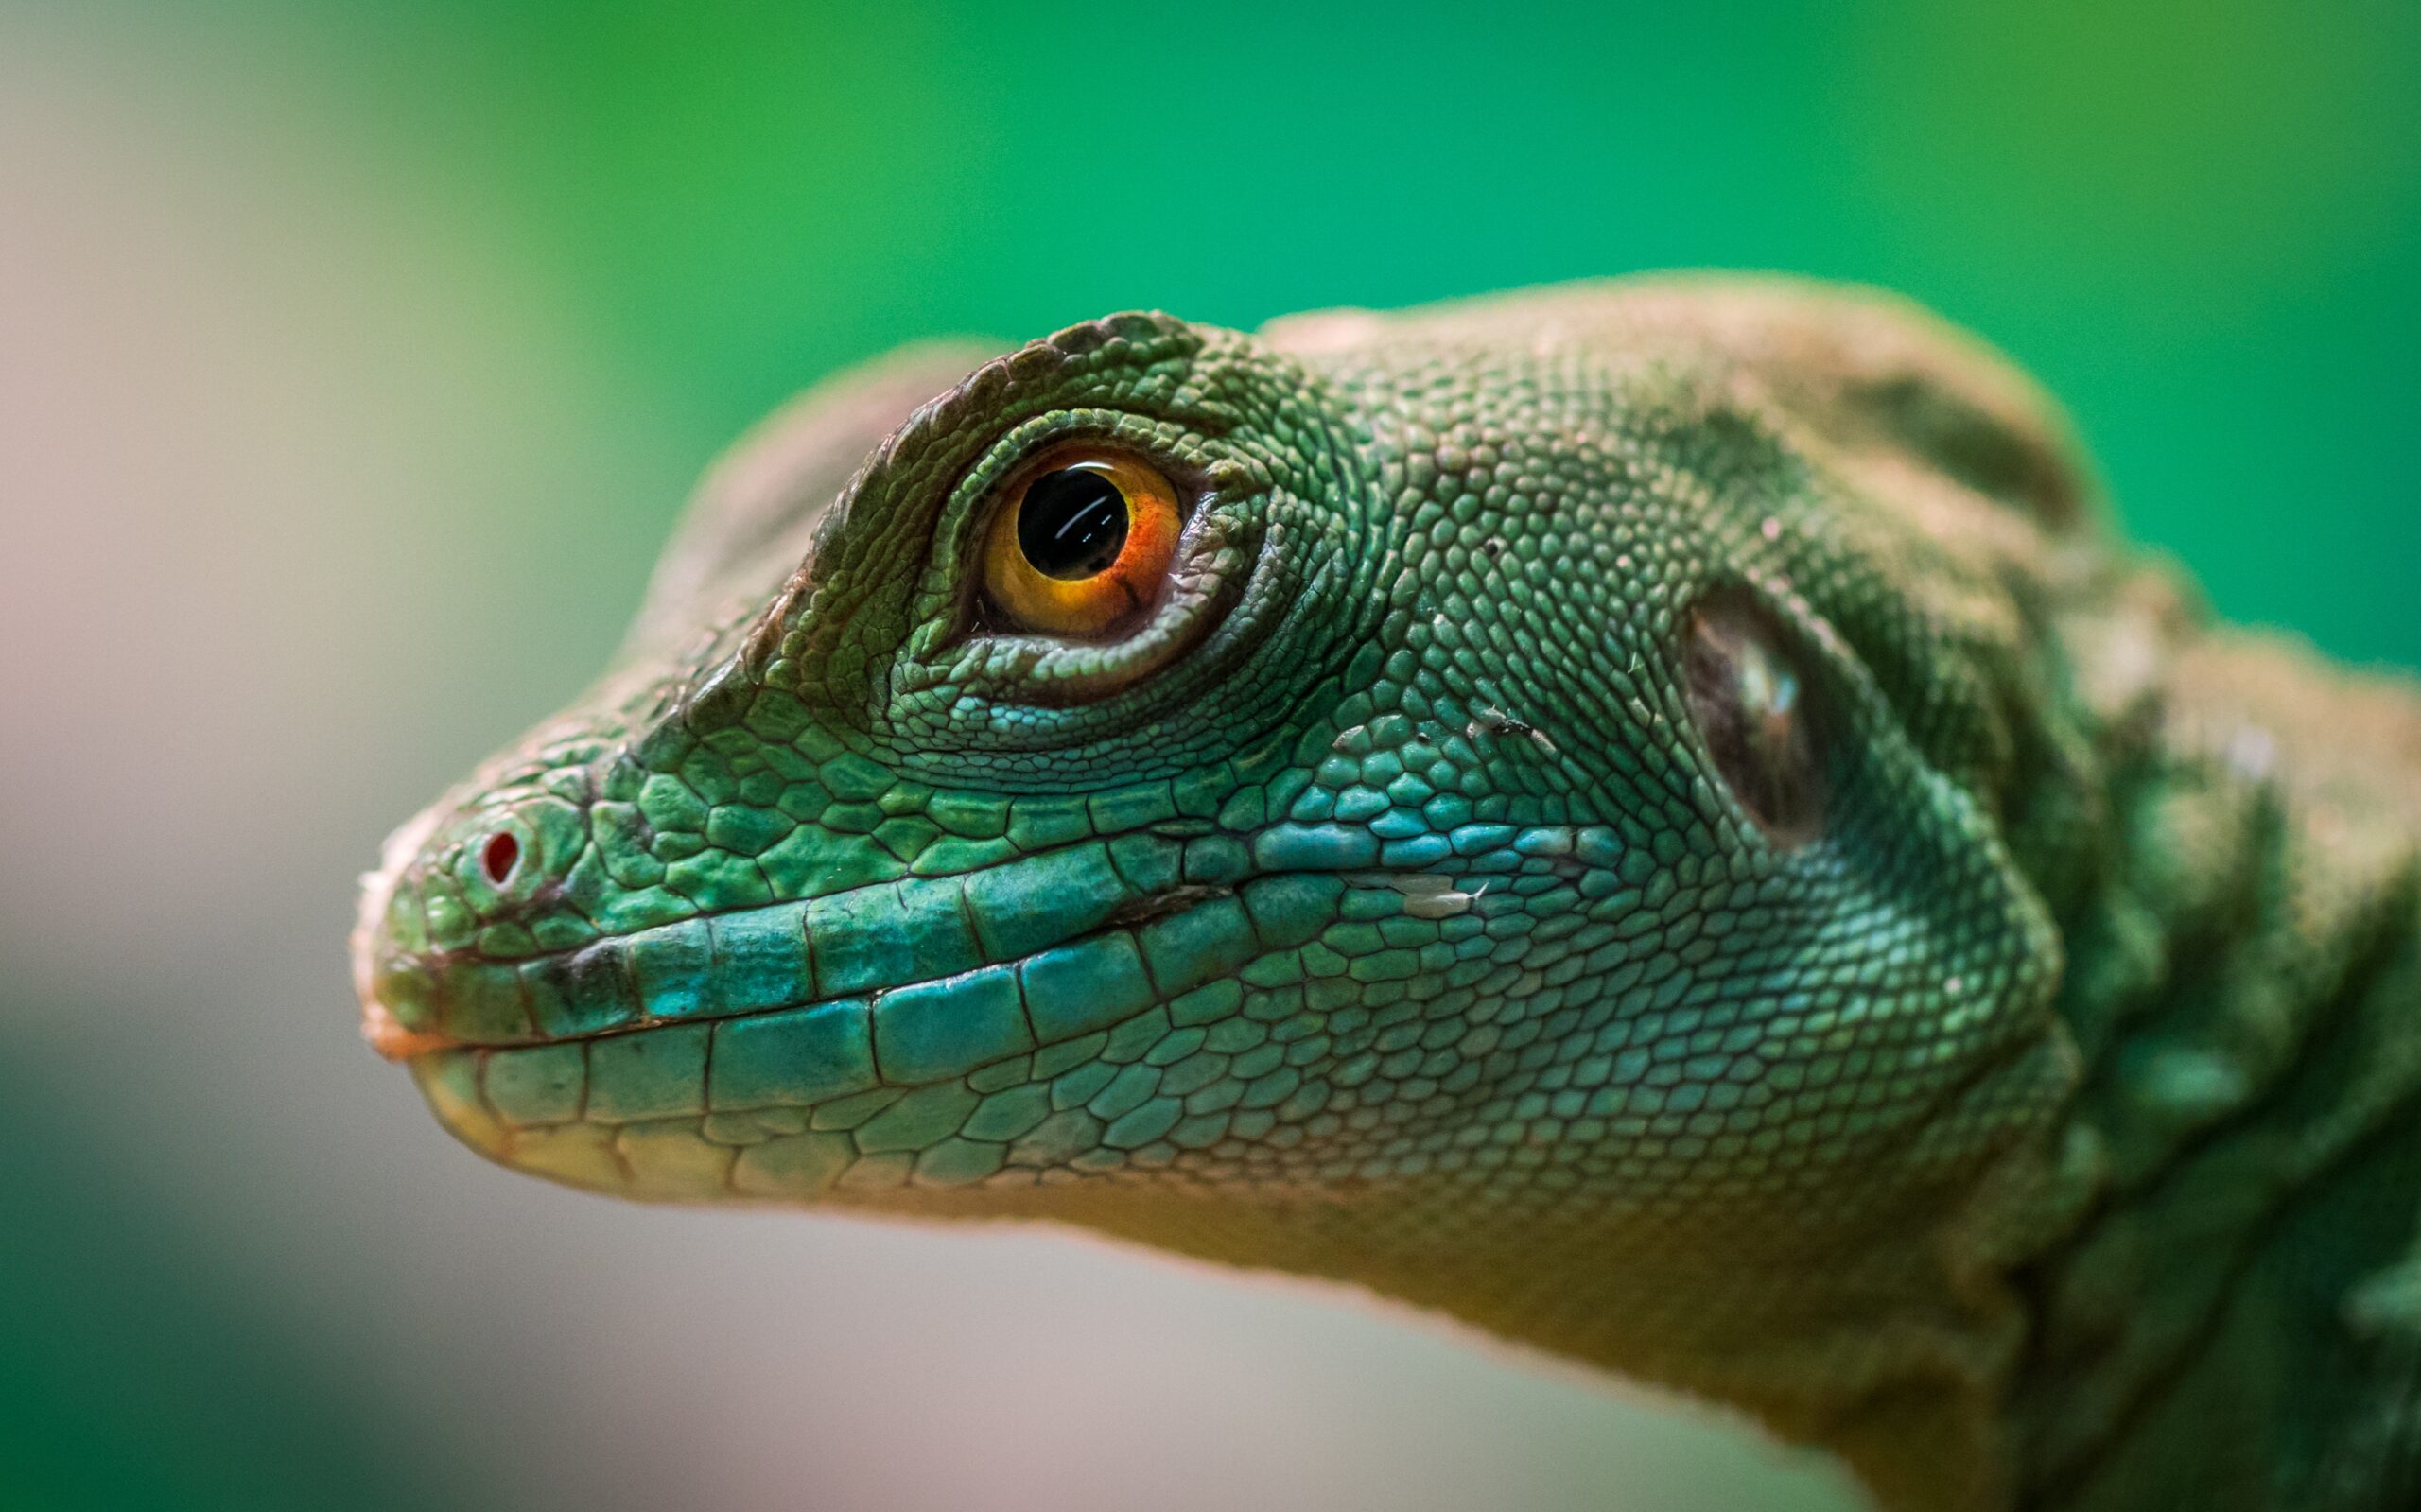
Always place the animal’s eyes as your main point of focus. This is a requirement, not a choice. Any good wildlife photograph should always have the animal’s eyes as its sharpest feature. If you look closely, you can see me taking a picture of the image in the eye’s reflection because it is so precise in focus.
5. Be prepared and have patience.
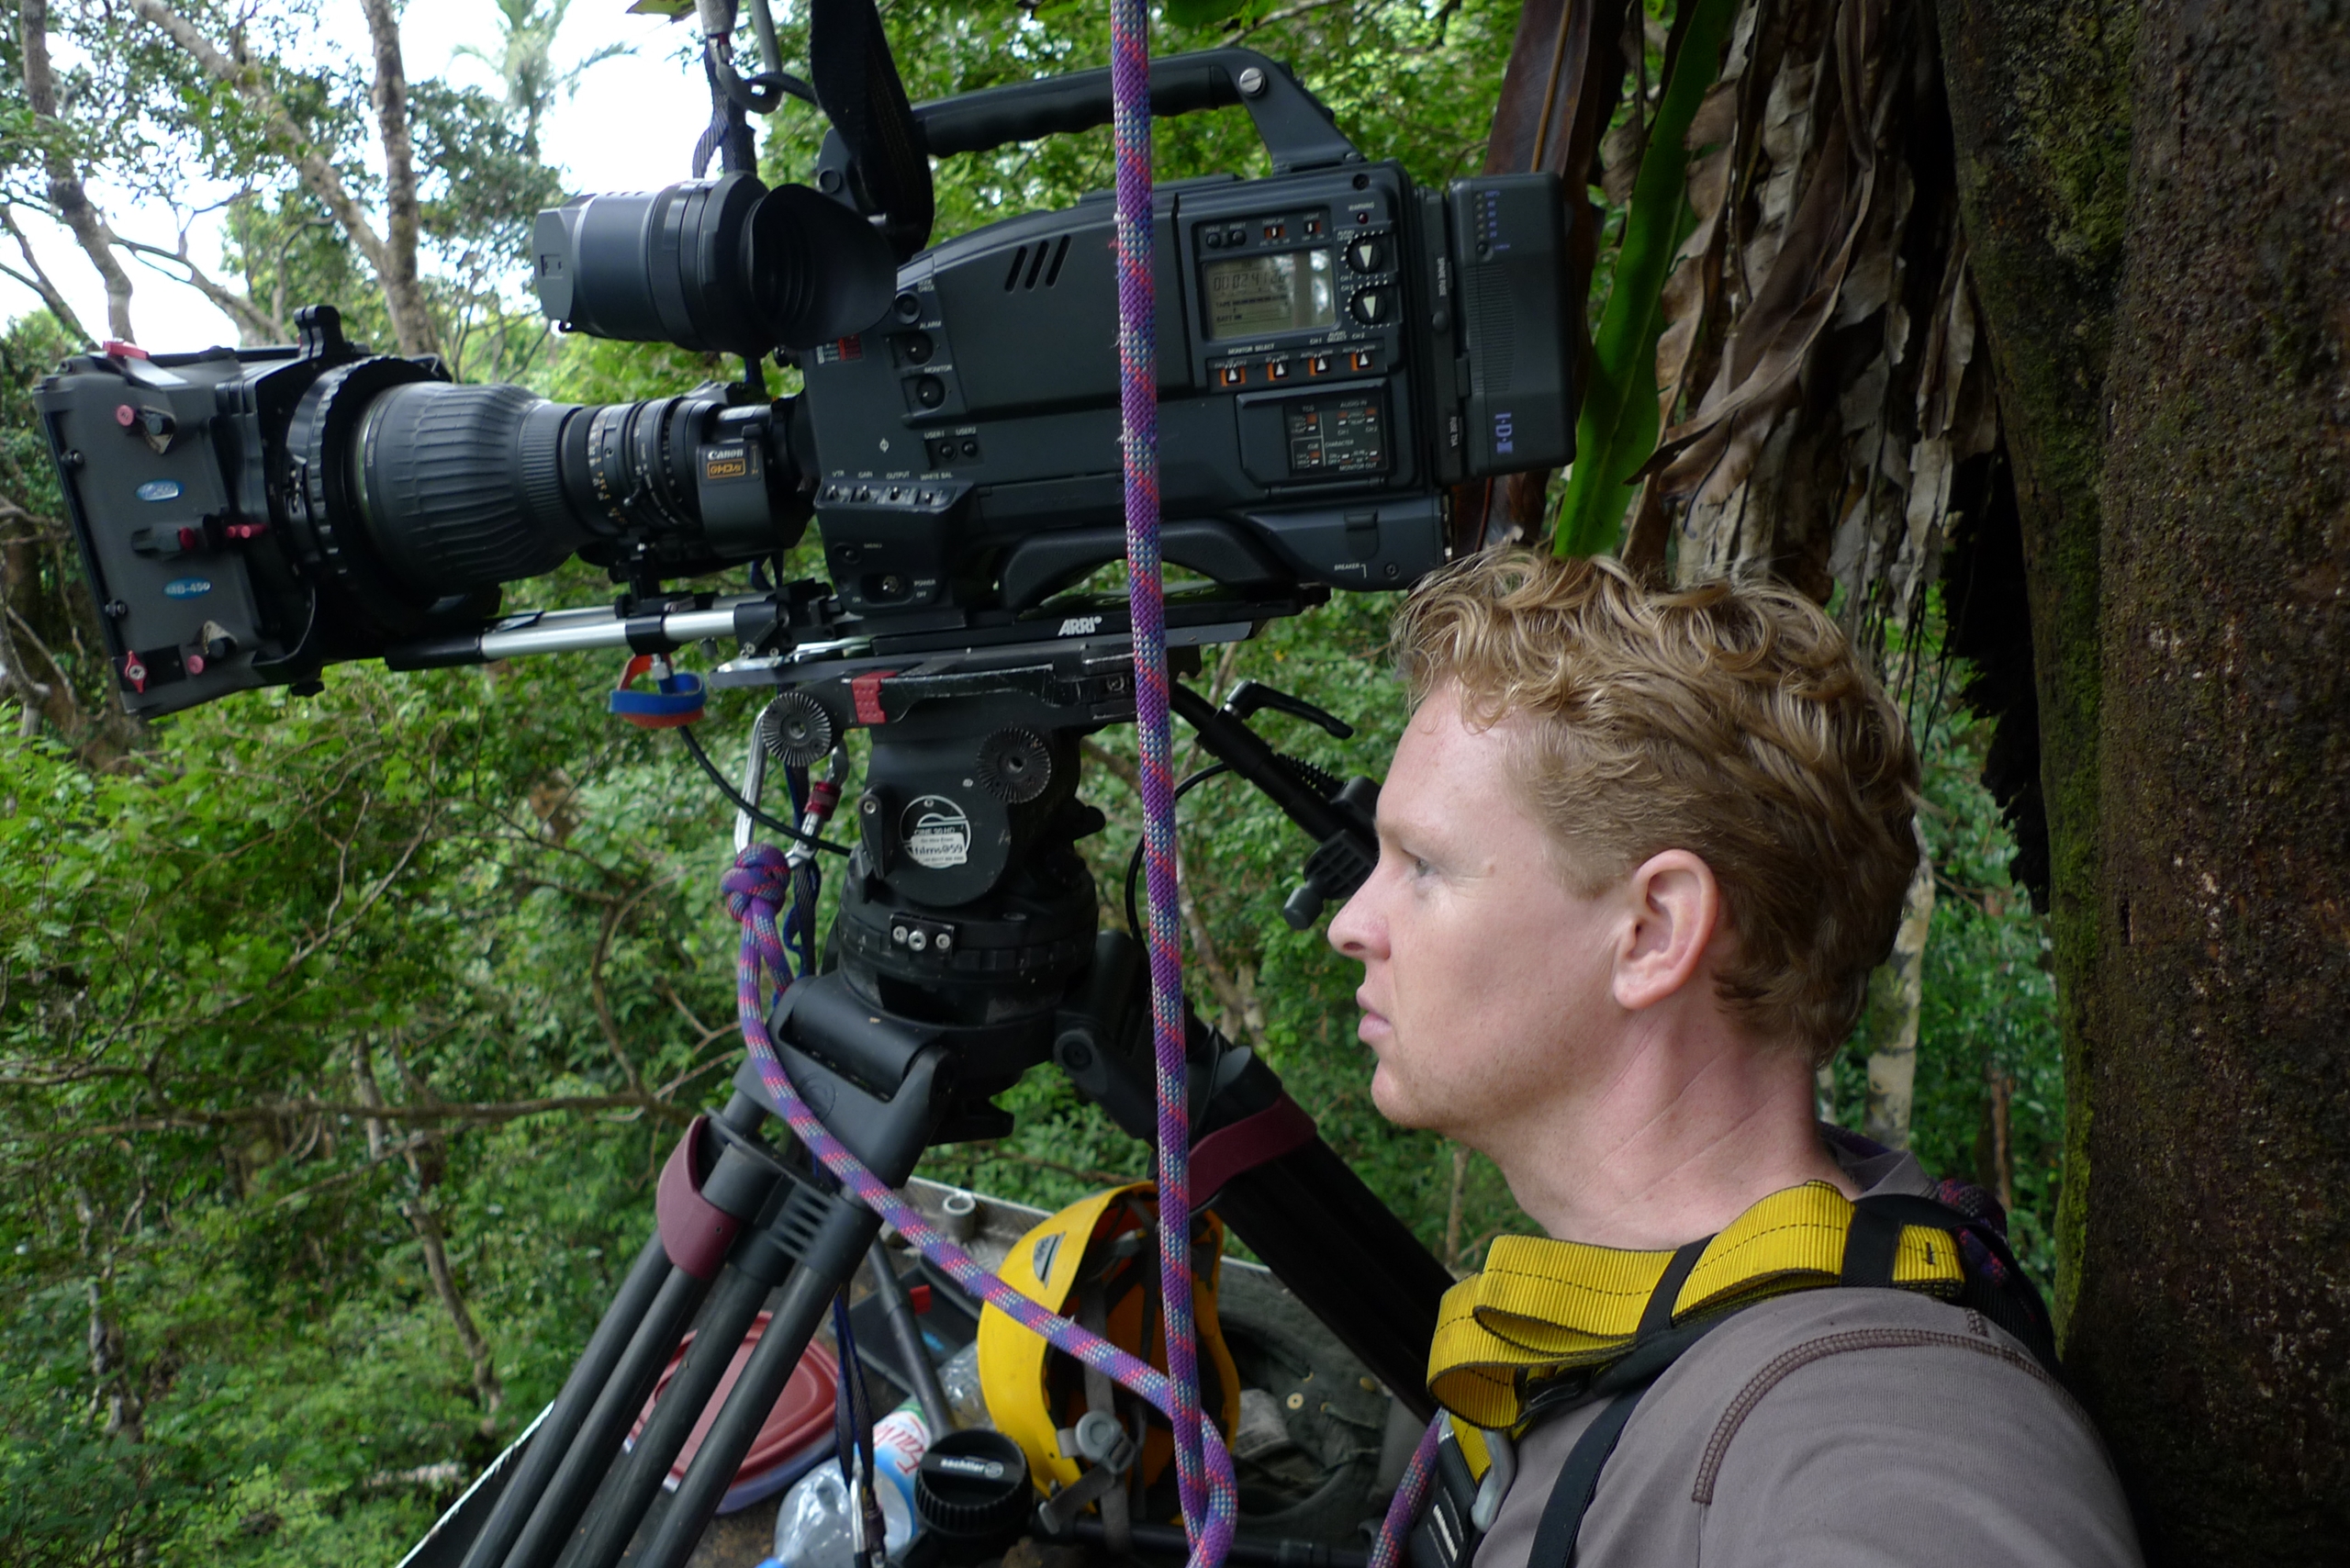
Once in a while, you might be fortunate enough to see a stunning animal striking a stance and have your camera at the ready. You’ll need to wait more frequently for something spectacular to occur. To capture wildlife in exquisite detail, patience is a must. Being ready to take a photo when something exceptional occurs is also crucial.
6. Remove all distractions
Two shots of a river otter demonstrate the proper way to compose a photo without any distracting background elements.
Keep an eye out for anything in your photo that could distract from the quality. The eye can become distracted by objects such as sticks that partially block out a bird or protrude from behind an animal’s body.
However, you can also try to zoom in closely to eliminate background distractions. In some cases, you’ll have to be patient and wait for the animal to move into the perfect position. You can always crop stuff out when editing your images if you don’t have time to do so while you’re out shooting.
Conclusion
Keep these pointers in mind the next time you take your camera outside to photograph wildlife, whether you’re out on a walk, watching in your garden, or seeing animals from a distance. You’d be surprised what you might learn if you hung around for a time.
![]()

