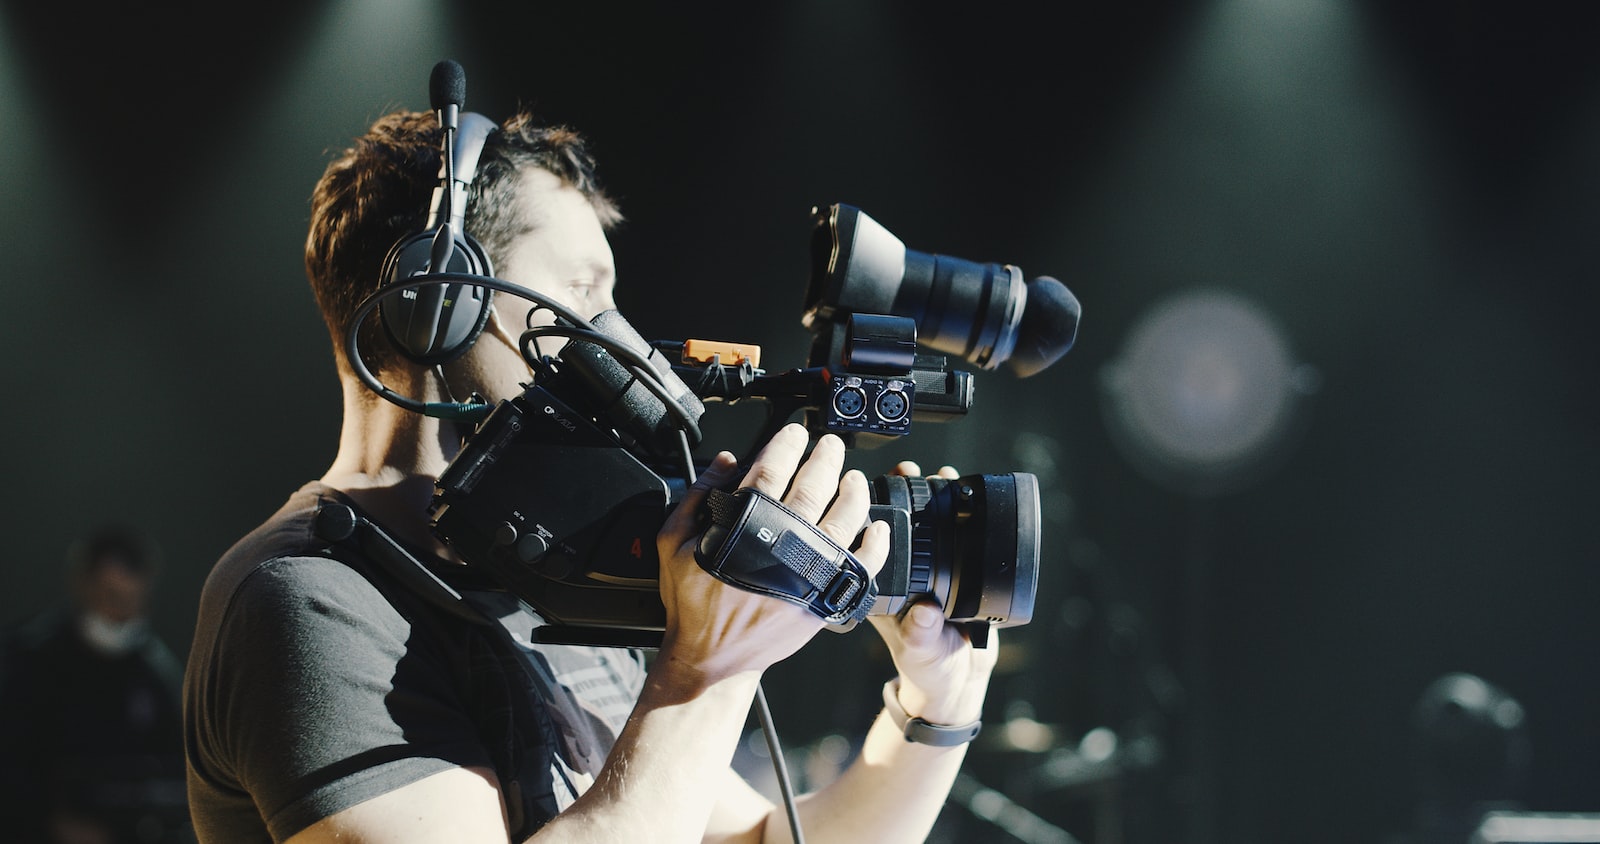
Indoor sports are notoriously difficult to capture. In fact, because of the quick action, dim lighting, and restricted camera movement, sports photography can be scary for a beginner.
Research the game:
An indoor sport will be easier for you to record the more you are familiar with it. You should know more than just the game’s rules. For instance, you’ll be aware of where to position yourself beforehand if you have a sense of how the game flows.
You can predict the players’ actions if you are aware of their playing style and skill. This “quick tip” will undoubtedly benefit you in the long run, but it will require time and experience. If anything, it will increase your enjoyment of the sport.
Capturing the Moment:

Consider where you want to position yourself first. Consider where the majority of the action takes place during the sport you are photographing. If you’re positioned properly, you can see the action coming at you in some sports.
For a high-angle shot of the court, the top of the bleachers can occasionally be the best location (especially good for volleyball). With amateur competitions, you can frequently move around and try various locations. Go to the sidelines if at all possible after leaving the audience. By doing so, you will be level with the players and closer to the action.
Latest Updates
- What should you avoid photographing at Christmas?
- Tips for Gorgeous Winter Landscape Photography
- Best beach locations for weddings Destination in India?
Once you start taking pictures of a specific sporting event, you’ll start to realize that every sport has a unique sense of when the action takes place. Your timing will get better the more you shoot. Even professionals practice shooting at the start of a season to improve their sense of excitement for game action.
Challenges Particular to Indoor Sports
For a variety of reasons, indoor sports can be particularly difficult for photographers. The location is frequently dimly lit whether it’s a high school gym or a professional sports arena it’s a high school gym or a professional sports arena, the location is frequently dimly lit.
Additionally, the lighting might be a combination of uncommon hues like fluorescent, tungsten, and mercury vapor. To ensure that the final image displays correctly, digital cameras need to know the color of the light coming from the light sources.
The camera must adjust because each type of lighting has a different color (just like our eyes and brain do). In these circumstances, a custom preset white balance (if your camera supports it) might produce a better result. The average working range of a camera’s built-in flash is only about 10 to 20 feet or less in an expansive space without nearby walls or ceilings to serve as light reflectors.
The working distance of a more potent hot-shoe mounted flash can be increased, but it might still struggle to light all but the closest subjects in a big gym or arena. Before using a strong flash, be sure to consult the coach, referee, or other event officials because sometimes a flash can be distracting or harmful to the players.
Making Up for Low Light
As we learned above, you usually need to use a fast shutter speed to stop the action in order to capture the action of quickly moving athletes.
It is necessary to use a lens with a fast maximum aperture in order to use a quick shutter speed. You can increase the ISO value to make up for a slow lens, but you should be aware of the drawbacks of using high ISO settings.
The light level is frequently so low, as in high school gyms, that even with a high ISO (like 1600) and an aperture of f/5.6, the fastest shutter speed that can be used still won’t be quick enough to stop action. When this occurs Use of a lens with a faster maximum aperture, such as one that opens to f/2.8, is the only alternative.
![]()


